Annual Condition Inspection and Maintenance
Posted 4/10/2017I decided that with 100 hours on the hobbs, and a busy summer ahead, it was time to move the Annual Condition Inspection day forward and just get it done in the spring. It's nice to be able to plan for vacations and not have to worry about rushing to complete the annual condition inspection, and March or April is a good time of the year in general to do it. That way the plane is ready for you for the whole summer. With that motivation, I set out to begin the ACI.
When it comes to the ACI, I try to basically follow a checklist that I had previously compiled for my RV-10 from various sources, and I modified it for my RV-14 N14YT. Here is the Annual Condition Inspection Checklist that I follow. I don't necessarily do all of these things in one day, weekend, or even week, but I try to make sure to hit most every item on the list over a short period of time. The one thing I don't necessarily do at ACI time is the oil change, however. To me, the ACI is one of those things that you try to do at a specific time of the year, while the oil change is something that you try to do at specific intervals. Those 2 will not necessarily align very well. I'm not going to change 10 hour old oil, for instance, just because it's ACI time.
While the checklist looks very long, there are many items on the list that don't take very long to inspect, or you may choose not to do. For instance, "Inspect all firewall penetrations" is an easy 60 seconds to do on the RV-14 at most. And this year I had no reason to "clean/degrease engine" because it wasn't very dirty. But you work through the list and tackle each item by area on the airplane, it eventually you finish. The RV-14 turns out to be a very quick and easy airplane to inspect, with a primary center tunnel for most of the control surfaces and wring and tubing running thru it, and visual access to most of the other items able to be done from the tunnel itself. You can do a lot with a flashlight and a mirror, or, in some cases something like the ViVidia AbleScope VA-400 USB Rigid Borescope Endoscope can be very hand, or perhaps even an iphone camera or iphone video camera.
Being the first full inspection of the airplane since it first flew in June 2016, I paid particular attention to the control systems, and found no squawks with anything. It gave me a chance to lube them all, and install loctite on any jamb nuts that I was not sure were loc-tited yet, and look for any cracks or areas of stress. Being an aerobatic plane, I wanted to inspect the tail particularly well, but found no issues there either. It makes me very happy to see no issues developing so far, and with the study construction of the RV-14 I don't expect to see much show up in the future.
Starter Trouble
After having just purchased 2 new starters for the 2 planes, both 149-12NL models, back in February, I was shocked when I ran into an issue already, only 6.0 hours and 6 flights into the new starter. I went to start the engine and after cranking the engine for maybe 5 seconds without starting, I tried the 2nd start. This time the starter didn't make any noise whatsoever, only the clunk of the firewall solenoid. Immediately I became curious as to what could possibly be wrong. It was a brand new starter. I tried rapping on the solenoid, lightly rapping on the starter, checked all of the wire connections, checked the engine ground, and found nothing. Then I got more desperate and grabbed some 4ga wire and had my daughter try cranking the engine while I jumpered things like the firewall ground to the engine block, and going direct from the battery to the starter wire itself, bypassing any firewall solenoids and ensuring the power went straight to the starter wire. Nothing made any noise at all.
It didn't happen at a good time, because the next a.m. we were to fly to a presentation we were giving on the RV-14 to a local RV group. So we pulled the starter off the other plane and installed it on the RV-14. That starter only had 1.5 hours on it, and it fired right up with that starter, proving the rest of the system was ok.
Now it was time to see what was going on with the failed starter... I was at first not interested in opening up the starter...only wanting to get it replaced, but the curiosity got the best of me and I had to see what was up. I remembered seeing a document on Sky-Tec's site regarding a way for experimental planes to wire the keyswitch differently if they were interested, and with that photo and instructions in hand I was now ok with opening the case.
Here is the sheet from Sky-Tec.
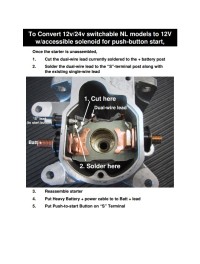
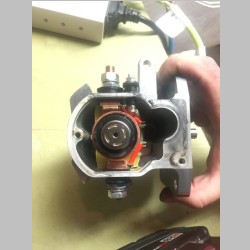
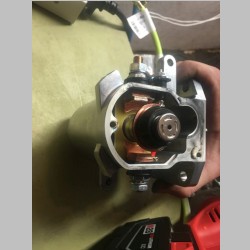
After opening mine up, I could see how it functioned. The lug that gets the power wire enters the starter on a large copper pad. None of the coil windings or internal connections seemed bad, but there was 0 ohms, (direct continuity) when measuring the coils to the case ground. The way it works is that when power is applied to the main lug, the plunger pulls down, which pushes the nose gear out to the ring gear. When that plunger bottoms out, it completes the circuit to the other side of the starter which has another big lug. That lug has a wire that runs up to the motor section of the starter. So you cannot have a working motor section that spins, if you do not have a working solenoid section. And if your solenoid is working, you should hear a clunk when you apply power. In my case, a bench test with a fully charged battery showed that the starter made no noise when power was applied. I though the entire solenoid was dead but as it turned out, if you pushed it down part way by hand, as it neared the bottom it could latch and magnetize and connect. The motor section tested out OK, spinning well.
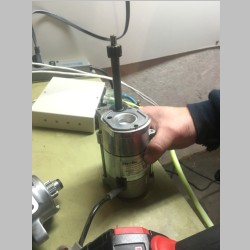
So off went the starter to Sky-Tec, and they are promptly sending me a new one so that I will not have lots of downtime. They are very good with their warranties. One other concern I had is that to fit the NL starter on the RV-14 required me to cut the additional un-used mounting lugs down. They aren't used on either plane. As it turns out, that will not void the warranty as they expect that, and list it as not a warranty problem right on their website.
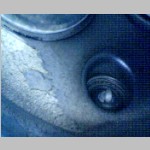
Here are some pics of the starter.
 |
 |
 |
 |
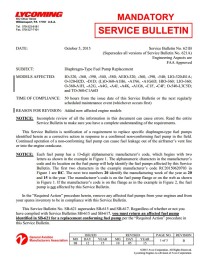
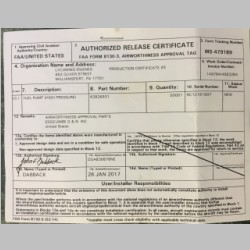
Lycoming Fuel Pump Service Bulletin SB-621B
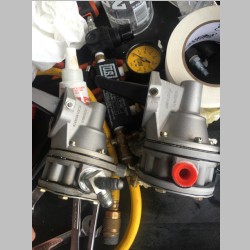
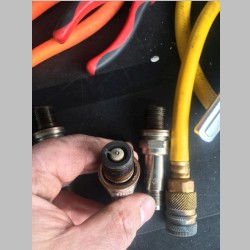
Recently while trying to locate a good parts manual for my IO-390 I was digging around on Lycoming's website and ran across a service bulletin on the fuel pump. Apparently some of the fuel pumps were made with non-conforming parts and could potentially develop fuel leaks. This wouldn't make for a very good day, so I read up on the SB and contacted Lycoming. The officially listed warranty period had run out, but this was a new engine from Lycoming and they did say they would replace it. I did have to purchase it from a distributor though, which is how I got connected with G&N Aircraft in Indiana. For some reason ordering a new pump took a while. I called them after 5 weeks of not seeing the pump come in and within another 10-12 days or so I had a pump in hand.
I had requested but not received a new pump gasket as well, but it worked out because I tend to order things like that and keep them on the shelf, and sure enough I had one. Time to re-order one at my next convenience.
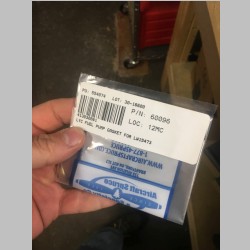
The fuel pump removal was a breeze. First, shut the fuel off. Then remove all the lines, then clip the safety wire and unscrew the 2 hex head cap screws that secure the fuel pump. It came right off with just a tiny piece of gasket left stuck to the engine. It soon became clear that this was the easy part.
I removed my fittings off the old pump and put them on the new, and then tried to get the pump installed. I had previously watched a video from Tempest on fuel pumps and they pointed out that a common failure was people mis-installing the pump where the engine driven rod that runs the pump lever is not on top of the lever but the installer runs the pump in NEXT to the lever. I didn't want this to happen. I also was smart enough to know to turn the engine and feel the little pushrod to move it to the up position, so that it wouldn't be actuating the pump, causing me to have to fight a stiff pump spring. The catch was, the bolts have to be installed at least 1/2 way into the pump before you can place it, and if you line up the holes and screw it in, you are probably very high up on the pushrod. The pushrod also tries to fall down instantly when you aren't holding it up. So getting it in right requires either some technique, or some tricks. I went with tricks, learned from reading some forums before I put the pump on.
FIRST: Make sure you install teflon or other thread sealant on the screws before you put them in. If you don't, the oil can eventually seep out thru the unsealed threads.
NEXT: Use grease to hold the gasket in place, or it's going to constantly fall off, and you'll wreck it.
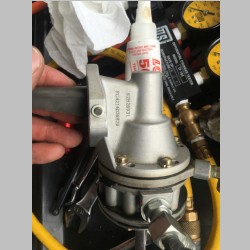
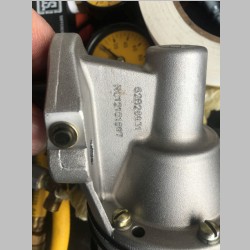
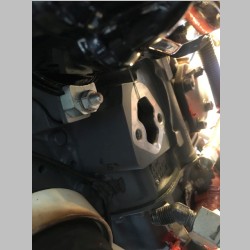
THEN you have to keep that stinkin' rod from falling. A way that worked well for me was to grab a nice piece of maybe 3-4' of .020 safety wire, fold it in halve loosely, and then use the bend created to loop around the pushrod inside the engine. No, I didn't loop a full circle around, just went down into the hole, around the rod, and back up. I then took the other 2 ends of the wire and wrapped it around the engine mount, and twisted it tight using a safety wire pliers. That made the wire nice and tight. At that point I could stick my finger into the engine, push the rod up, and it stayed in place.
At that point you have the pump ready to install, and you can stick it in the engine and line up the screws on the 2 holes and start threading it in. Try to keep the lever end low as you work it in, as much as possible, and crank it in with a big ball-end hex wrench. You'll need to keep the pump about 1/4" off the engine while you start the bolts. Once you are down to your last 1/16" or so of gap, it's time to cut the wire and pull it all up and out of the engine, allowing the rod to drop down to the pump lever.
Continue tightening and once it's tight, just safety wire the 2 screws together up over the top of the pump. I heard people's horror stories about doing this, but it must have just been due to not being able to see the hidden screw on some planes, because on the RV-14 it was pretty easy.
After a quick fire up and test flight I confirmed the new pump working and hopefully I won't ever take it off again.
 |
 |
 |
 |
 |
 |
 |
 |
 |
 |
The
photos above show the safety wire holding the pushrod. If you click the photos the larger picture will show it in more detail. |
|
Compression Test and Cylinder Inspection
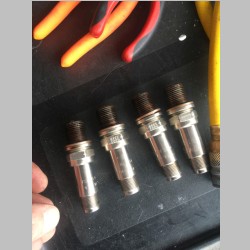
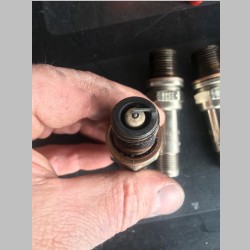
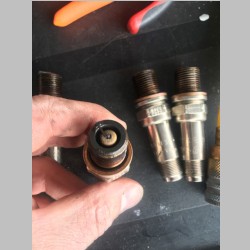
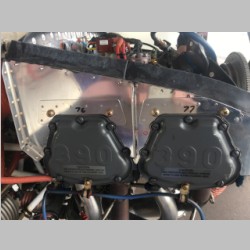
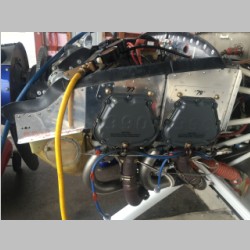
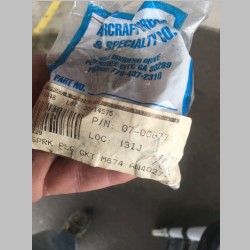
The one thing I do at every ACI is to do a compression test. I pulled my bottom iridium plugs, and gave them a peek and was surprised to find absolutely no lead fouling on the plugs. This was very interesting because on the RV-10 I always find a little, but not enough to actually cause issues. The fine-wire iridium plugs do a great job firing and keeping the fuel charge burning quickly and smoothly. Also, all of the plugs came out with the threads not as dry and tight as the ones in the RV-10. I think the long-reach plugs must run cooler in the head than the standard reach plugs. I didn't even bother to clean them but just threw new gaskets back on before re-installing them.
I took a pic of the prop when it's at the TDC positions of each cylinder. 2 of the cylinders will align opposite from the other 2, but TDC will always be at the same apparent prop swing position for each cylinder.
 |
 |
 |
 |
 |
 |
 |
 |
 |
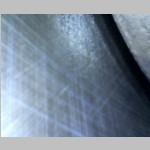
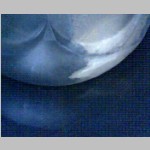
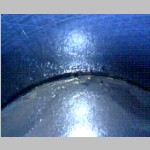
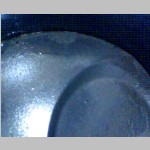
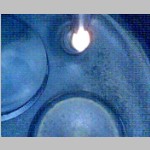
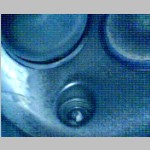
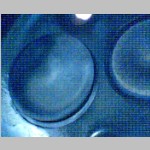
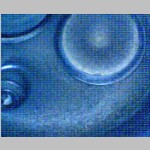
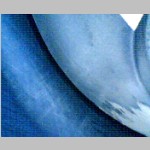
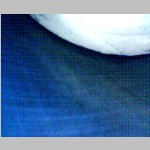
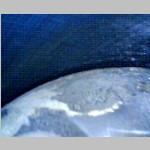
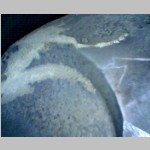
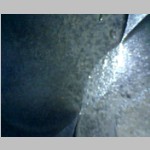
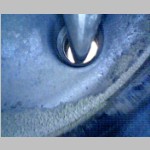
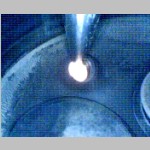
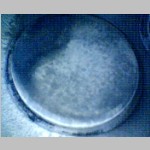
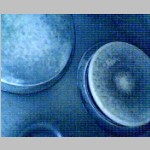
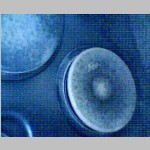
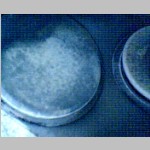
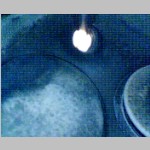
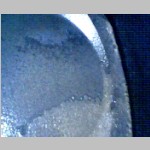
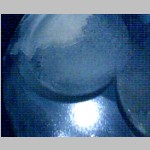
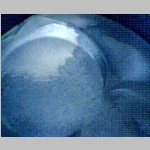
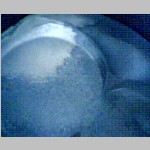
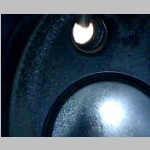
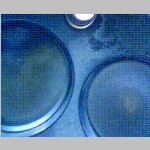
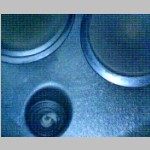
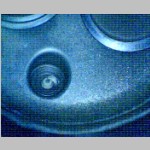
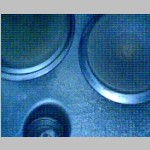
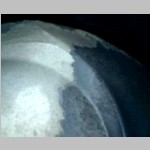
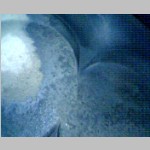
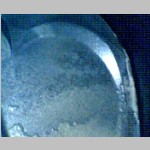
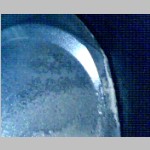
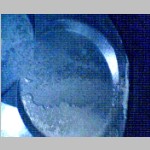
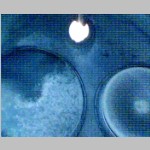
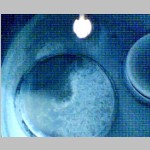
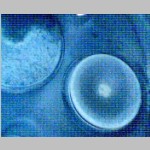
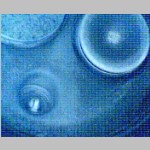
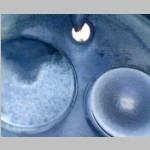
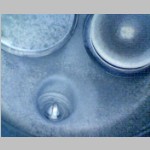
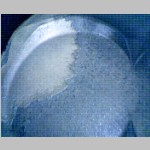
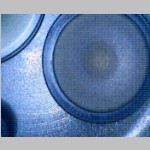
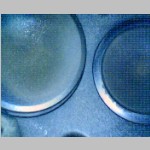
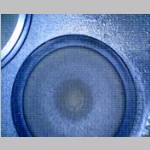
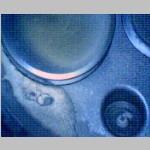
Borescope / Endoscope Cylinder Pics
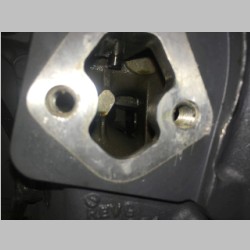
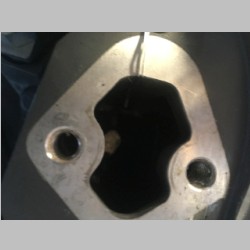
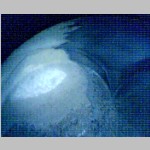
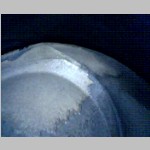
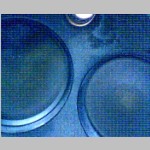
An additional thing I am now able to do after buying the aforementioned endoscope is to do an actual cylinder internal inspection. I should have tried to see if the camera can take higher resolution pictures, but I had a lot going on so settled for these. I did realize as I took more photos I needed to crank up the light a bit more. These pics show cylinders 1 thru 4, and you can even see the other iridium plugs in the cylinder head. The pistons are building up the very slight lead and carbon residue on them as all pistons tend to, but it was very nice to see that you could still see the cross-hatched honing of the bores. Nothing looked out of the ordinary to my untrained eye.
 |
 |
 |
 |
 |
 |
 |
 |
 |
 |
 |
 |
 |
 |
 |
 |
 |
 |
 |
 |
 |
 |
 |
 |
 |
 |
 |
 |
 |
 |
 |
 |
 |
 |
 |
 |
 |
 |
 |
 |
 |
 |
 |
 |
 |
 |
 |
 |
 |
 |
 |
I didn't take many more pics of anything as I worked, but after all of the inspection, I now feel very good about how the plane looks after it's first 100 hours and expect the next 1000 should go very well.
MyRV14 Home | MyRV10 Home