Elevators and Tailcone
4/12/2014| With the worst of this awful
winter behind us, RV-14 progress has started to pick up
speed again. We had something near 60 days with
temperatures below zero this winter, with quite a few days
below -10 to -20F, some reaching into the -30's. I
decided that with the price of Kerosene (my shop heat
source) being $5/gal, it wasn't worth working when it was
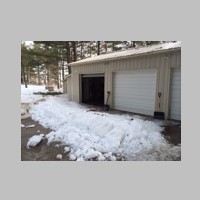
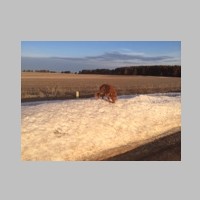
below about +15 or +20 degrees F. The first picture below was March 10th...the day I had been dreading. Once again sidetracked by other things, the first warm snap dropped all the snow off my garage and into the driveway. You have to get that moved right away, before it freezes, and you have to move it to get in to park. With the worst of the temps gone, and that mess cleaned up, it has been time to start making progress again. |
|||
 |
 |
 |
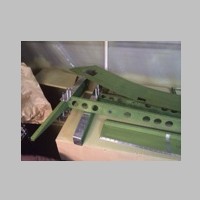 |
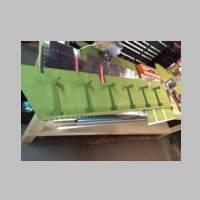
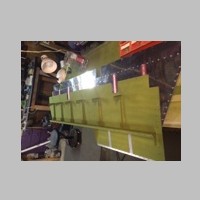
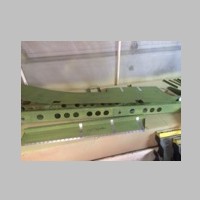
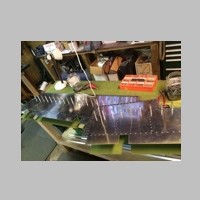
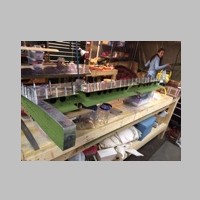
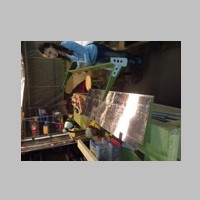
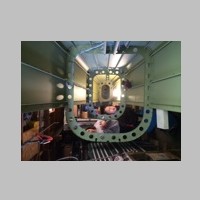
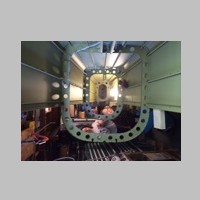
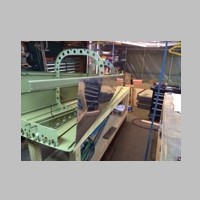
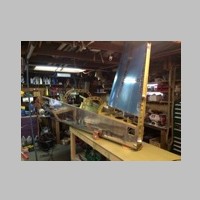
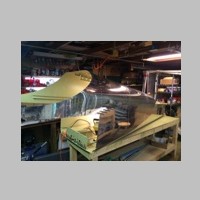
| The elevators have more
complexity and parts in them than most of the kit so far,
if you divide the wing kit into sections. It was
almost a bit depressing at times that it seemed to take
forever to get through them. When starting the
elevators, I saw a sale on some Zinc Chromate primer and
decided to give that a try, because there were going to be
many times when I'd have to stop progress and prime small
parts, so I thought that would be more convenient.
Also, my supply of Akzo was starting to run lower, and I
was contemplating alternatives. After this
experiment, I wish I would have just stuck with the
Akzo. The Zinc Chromate is one of the best
protections you can get for corrosion, but it isn't nearly
as tough as the Akzo 2 part primer. The Akzo's only
downside is the 30 minute wait for the induction phase of
the primer after you mix it, and the fact that you have to
estimate how much you're going to spray so you mix the
right quantity. Although the Chromate wasn't as
tough, it worked out ok for the elevators though, and it
did keep the process moving forward. It isn't as
nice looking either, but it works ok and you can retouch
areas easy. |
|||
 |
 |
 |
 |
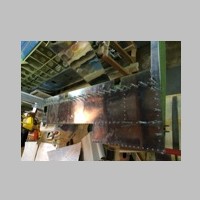
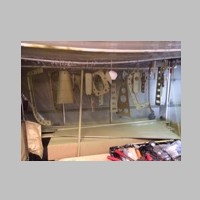
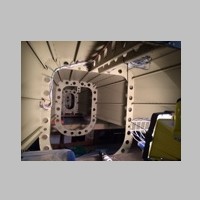
| As I was saying, there are a
lot of individual parts to work on and keep track of when
doing the elevators. An interesting diversion from
the RV-10 is that the RV-14 only has one trim tab, and the
trim mechanism is stored within the elevator itself.
This seems to be a pretty good way to go when you only
have 1 tab to run. You can see the cutout for the
trim actuator in some of the photos. If there is one plans thing that was pretty poor in the elevator, it is the fact that it isn't pointed out if the counterbalance skin goes over or under the elevator skins until AFTER you get the parts together. So, before you rivet the counterbalances onto the elevator, read ahead in the plans so you get this right. Other than that, the elevators aren't too bad to build and understand. I did decide to use proseal for the trailing edges, since you have to use that for the foam ribs anyway. |
|||
 |
 |
 |
 |
 |
 |
 |
 |
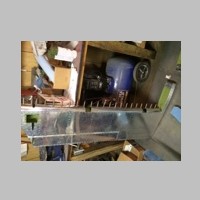
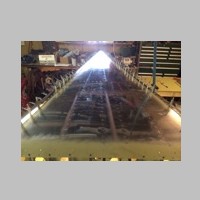
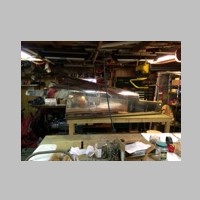
| As we got to the end of March,
it was time to start on the tailcone. The snow photo
above is from March 31st...yes, we still don't have the
whole road free of snow yet, and March is over. For
the tailcone, I noticed by reading ahead in the plans that
there were quite a few times when you stop and prime
parts, so to save that hassle, I decided to go through
each section twice....the first time I would just prepare
the parts, deburring everything, cutting any parts that
need fabrication, and then priming them all. I'd
still prime the skins in sequence but at least the skins
would be the only thing I'd slow down for. That
worked out real well for me. I warned the kids early
on that the Tailcone, if anything like the RV-10, would
build really fast and we'd be done with it soon. As
it turns out, that's right. It was only about 12
days total, with many many days that I didn't work on it
at all. Just a few building sessions. |
|||
 |
 |
 |
 |
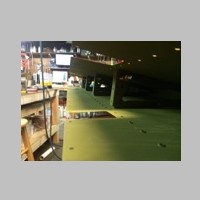
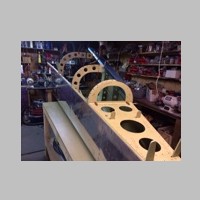
| Plans wise and parts wise, the
tailcone has been the worst of the sections I've found so
far. I've found quite a few missing things in the
plans, or places where either you should or shouldn't
dimple, that weren't called out. There were some nut
plates that weren't included with the hardware that were
in the plans, and there was a bag of hardware that was
listed in the inventory but not included. So
building the tailcone you will want to pay a closer amount
of attention to future pages so that you do things just as
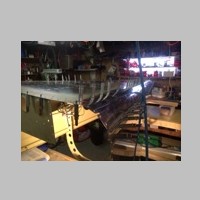
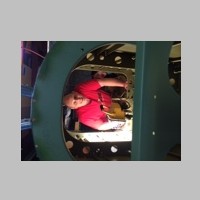
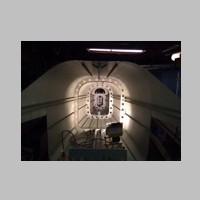
they need to be. It takes almost no time to get something that looks like a tail of an airplane...this section is very rewarding that way. And, it was great to finally get ALL of the parts out of storage and get everything put together. For riveting the side skins on, I had great help in one of the girls. We flipped it upside down so I could rivet from the outside while she bucked them on the inside. That worked really well. See the above and below photos for that. |
|||
 |
 |
 |
 |
 |
 |
 |
 |
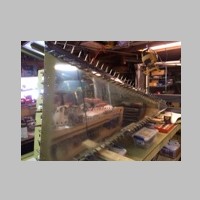
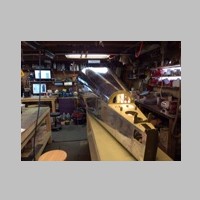
| During the installation of the
side skins, there are a couple of places where you have to
stop and install wiring first. I still have mixed
feelings regarding the amount of wiring included with the
kit on the RV-14. On one hand, this will be a really
easy kit if all the components I intend to install, and my
intended grounding methods are used. On the other
hand, it's a waste for some things if I intend to use
other components or do anything slightly
differently. For the most part though, when it comes
to the tailcone, I'm pretty impressed with how well it was
done. A couple wires were too short and they sent an
extender kit when they knew, but they are still too short,
so I'll have to do that myself. Also, I plan to
mount my ELT antenna a bit differently and I may use Cat
Whiskers antennas for NAV. So there are a few
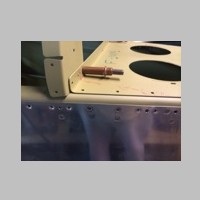
potential changes I have for the wiring plan. Below is a photo of a couple of nut plate locations that aren't called out to be filled with nut plates. I decided to put them in anyway, despite them coming later in the plans. One catch though is that you do not want to fill the forward rivet hole in the forward nut plate until you attach the top skins, as that hole is filled with a rivet when you do the skins. |
|||
 |
 |
 |
 |
| Woo Hoo! April 9th and
we're finally able to see the edge of the asphalt on the
road! Attaching the rudder I still marvel at how well everything fits. Van's does an EXCELLENT job in designing these kits. It is truly amazing to see these parts come together with such computer-assisted accuracy. Truly amazing. One other area to pay attention to in this section is that I don't think Van's used proper rivet length callouts in some of the spots. Basically I find that everything that rivets to the longerons needs at least a -4 sized rivet...and they're called out as -3.5. In fact, a -4.5 would probably be better than a 4 in most cases. And, where you have skin + longeron + bulkhead tab, you'll probably even want a -5. So, be sure to look at the locations and use the rivet that really is best for that area. If you are a first time builder, order a good sized bag of -3, -3.5, -4, and -4.5 rivets so that you have extras, and personally I ordered even longer sizes to keep on hand as well. I also bought a rivet cutter and I've used it a few times on this kit so far to get the right length rivet cut from a long one when I wasn't supplied the right sized rivet. |
|||
 |
 |
 |
 |
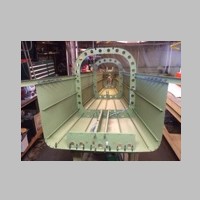
| After a few short days, I have
a completed tailcone, complete with rudder cables, and
some antenna and other wiring run. Now all that's
left to do is install some fiberglass fairings and do the
wing bottom skins and wires and pitot mast before I am
stuck waiting for the fuselage kit. That should give
more time for spring chores and early summer activities. |
|||
 |
 |
 |
|