Mid-Winter Upgrades
Headset Hangers and Starter
We're having a pretty warm winter here in the north country, which has kept me flying fairly regularly, especially with my daughter preparing for her spring solo. I also took the time to add a necessary option for hanging up my headsets. I had not done this during the build, because I wasn't sure where I wanted to drill any holes. I knew I didn't want to drill more holes than necessary in the structure of an aerobatic plane, but decided to just let it go until later. Now I finally was able to come up with a good way to do it that didn't involve drilling at all. It started because I talked to Abby at Flightline and she's planning to have some side panels ready to test fit soon, so I wanted to make sure that whatever I did, was not going to interfere with any side panels. Also, I wanted it to be drill-free if possible.
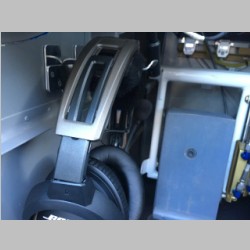
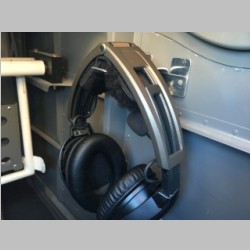
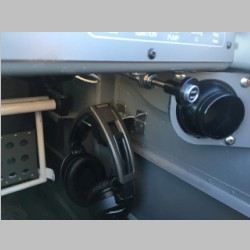
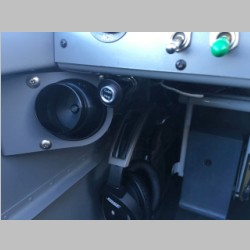
What I came up with was to just take some scrap aluminum (I used some scrap from some part of the build that used thicker .050 or .063 aluminum) and make a couple of glue-on pieces for the side walls, that were conjoined, to make a "slot" that a headset hanger could slide into. So the parts are just glued onto the walls. If I had known prior to painting I could have riveted them and that would have been great, but this should hold plenty well. Then I just bent up a piece of aluminum to use to hang the headset on. It just slides in the slot and is fully removable. It's a pretty snug fit, but if I make it permanent I'll just throw some clear rtv bead on the top by the side skin, to keep it from ever coming out on it's own.
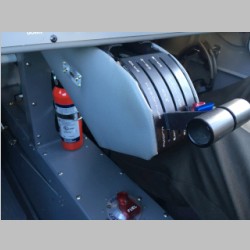
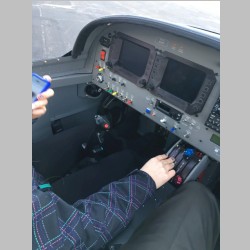
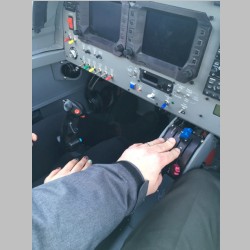
Then, I finally have some good pictures of the heater controls that I upgraded to last fall. These are the FAR superior to stock, A-700 72" controls sold by aircraft spruce as part number 05-13172. I highly recommend upgrading to these before you order them in your kit.
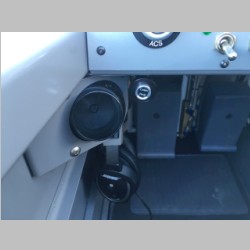
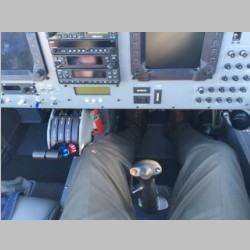
Next I realized I had never taken photos of the throttle quadrant covers I made. It's just some vinyl side skins on a thin layer of foam, over a firm backing that get velcro'd on to the side of the quadrant. It makes a great pad to rest your knee against while flying. In the sides, I also have a USB jack on each side, that connect to a Scosche ReVolt Dual 2.4A (12 Watts total) USB charger in a lighter socket located on the subpanel. So it's a handy place to plug in your iphone or ipad for charging, without being obtrusive.
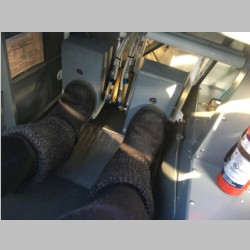
Then I took just a couple other pictures for my reference. I think I'll cut the bottoms off and raise my rudder pedal blocks in the RV-14. The size is right in the RV-10 but the RV-14 with a pad on the floor, raises your feet a little more, and you don't need to have the pedals as low for the ladies to use. So I'm going to cut 1.5" off the bottom and see how it goes. We're past 90 hours on the hobbs now, and having a great time!
 |
 |
 |
 |
 |
 |
 |
 |
 |
 |
 |
 |
 |
 |
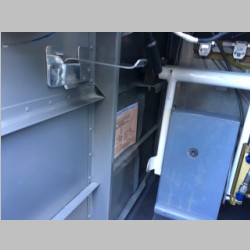
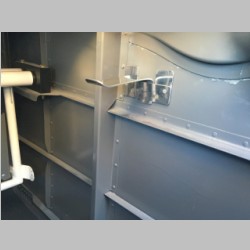
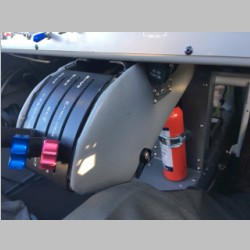
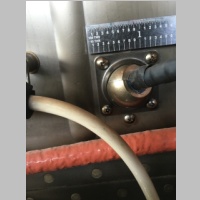
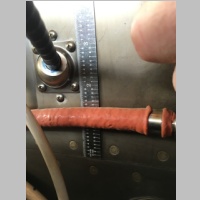
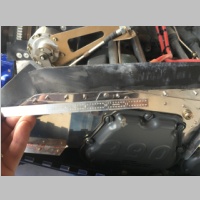
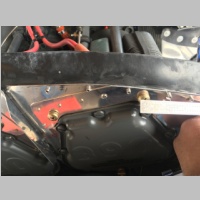
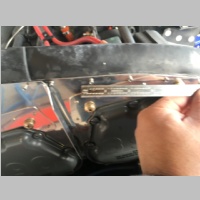
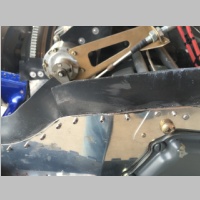
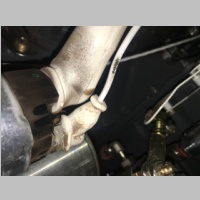
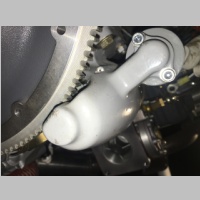
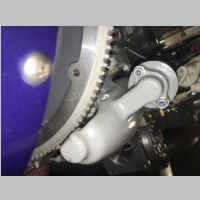
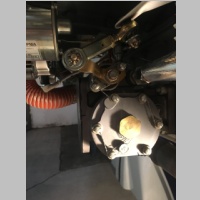
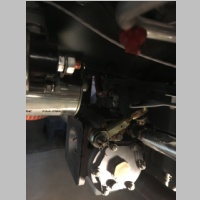
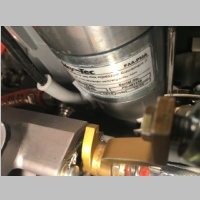
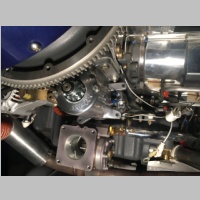
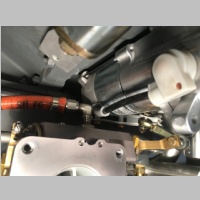
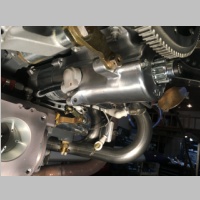
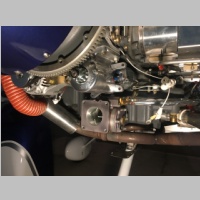
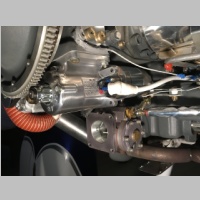
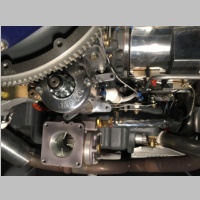
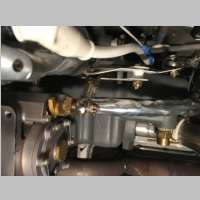
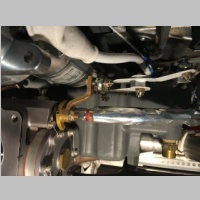
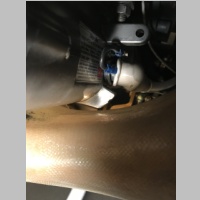
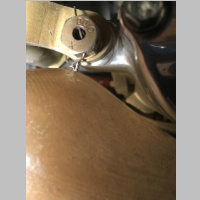
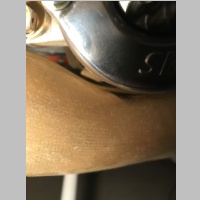
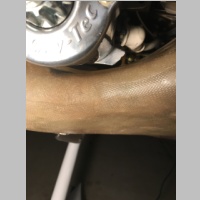
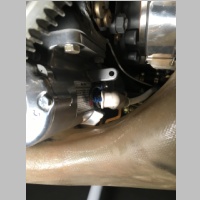
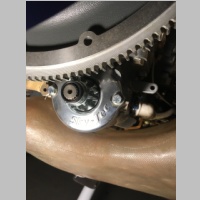
People occasionally ask me for measurements of where my firewall passthru is on my governor cable. Here are a couple pictures to help.
 |
 |
Another RV-14 builder tipped me off to this issue...
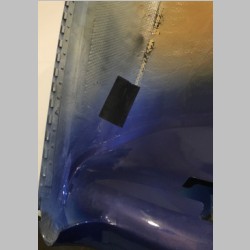
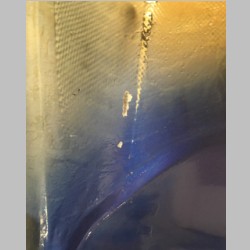
Someone told me that they had worn thru or almost thru their cowl because the aluminum engine baffling was rubbing on the cowl top. I just put it on my checklist for the next time I had the cowl off. This week I did, and sure enough on both the left and right sides, I have spots on the cowl top that are wearing in pretty harshly. If I had to guess I'd say I'm worn in maybe .030 or so.
The locations are, if I measure from the front outer corners of the cowl by the air inlet, about 9 or 9.5" in from the front corners of the cowl. The groves run maybe 1.5-2" long and then skip about 4" further back and then there is another spot that hits. With the baffle seals installed, it's tough to get a file on without wrecking the baffle seal, but I did manage to file it down in those areas slightly.
I put some gorilla tape over the spots and flew it for a couple quick flights, and yesterday I pulled the top cowl to check it again and it's still hitting a little. It's pretty good now in most locations with just one really heavy hitting area. I would suggest maybe when you do your baffles, you look at those areas and maybe about 8.5" to 15" back from the front corners of the cowl, I'd lower the baffle sides about 1/8". That should help eliminate the issue. You could go even further lower perhaps.
 |
 |
 |
 |
 |
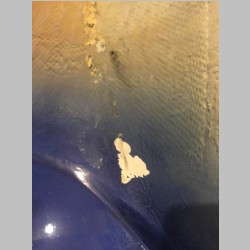
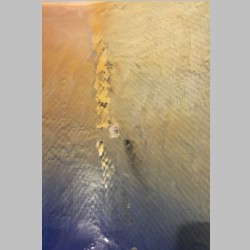
A few people have asked for pics to see the areas on the cowl that were being hit. I took these photos to show. The black tape is gorilla tape I put over the area until I fix it permanently with resin. I wanted to see if the tape was being cut into after filing down the areas above. It looks like it's still hitting but less severly now. I removed the tape and took some photos of the damaged area. The photos aren't very good, so you can't easily make out the depth, but it's perhaps .015-.025 in depth in some spots. The paint peeled a bit when I removed some tape which makes a larger spot, so only look at the narrow groves being cut.

|
|
|
|
|

|
Time for a fresh start
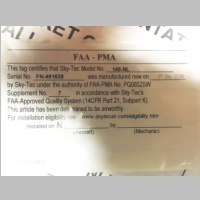
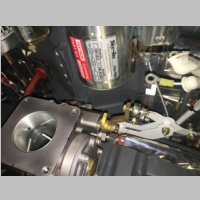
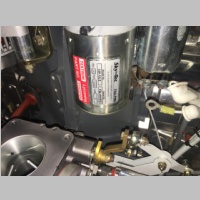
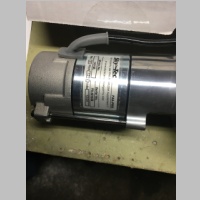
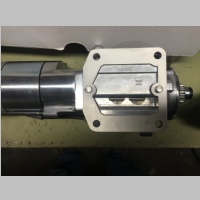
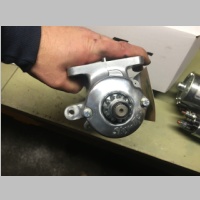
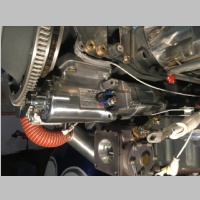
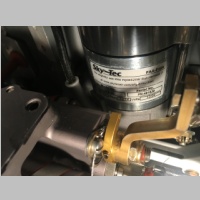
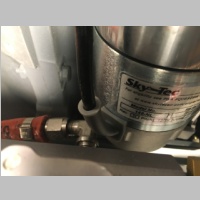
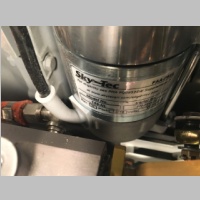
Finally, since day 1 I have had a very minor issue with my starter. I wired it per Van's recommendation, not Sky-Tec's. Sky-Tec uses only the fat wire, with the solenoid jumpered to it, so when you hit the key and power that wire, it engages the solenoid and starter at the same time. Van's does it separately, using the firewall contactor to feed them separately. They do this because when you release the key, and the starter spins down, causing an induced voltage in the coils, it would tend to keep the starter from disengaging as quickly. It did not cause problems in operation, but sometimes created a "noise" that people noticed. So Van's changed the way they wired it. Sky-Tec doesn't really like the way Van's does it, but it should work. It basically disengages the starter faster when you release the key. I decided to do it the Van's way, because the theory sounded good. The kicker is, when installing the NL starter, you cannot install it this "two wire" way...the NL starter can only be installed where the firewall solenoid delivers power solely on the single fat wire. So I will have to change wiring methods for sure.
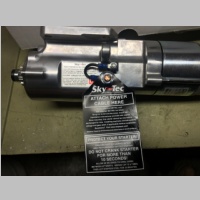
The 149-12LS starter I got with my Lycoming factory new engine was a great starter that spun the prop just fine...faster than I ever expected, but since I just bought a 149-12NL to replace my RV-10 starter due to poor starting torque issues, I figured I'd get the same thing for my RV-14. It is 1lb heavier as well, helping me keep my aerobatic CG forward.
The issue I had been having was that often, when I turned the key, my firewall solenoid clunked but my starter did not engage at all. I would then just release the key and turn it again. Usually after 2 or 3 clicks it would engage and the starter would crank right away. I wasn't sure if my firewall solenoid was the cause (specifically the S terminal), or something else was, but I decided to deal with it. The big issue is, to send it in for warranty required me to remove the starter, and ship it in (ground because of cost) and then they look at it and return it (ground) and then I'm good to go, and, I was not really sure the starter was even an issue.
I didn't want to be down for nearly 2 weeks while shipping this thing back and forth. So, I ordered a new 149-12NL starter. The 149-12HT that was on my RV-10 had the solenoid on the opposite side from my 149-12LS, so I figured it would be a pain to try to use that as a spare, otherwise I would have. The bonus is that now both airplanes use the same starter, and if the starter breaks down, I always can yank one off the other plane. So I'll soon have a 149-12LS starter to sell.
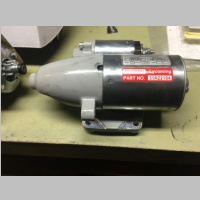
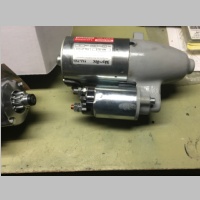
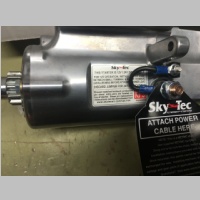
The first cranks on both airplanes were flawless...however, the 149-12NL cranks slower than the 149-12LS. This makes sense I guess because the gear ratio on the NL is 6.5:1 and the ratio on the LS is 4.3:1. Specs show the RPM and current specs to be 125-220A@11V 140RPM test on the NL, and 185-285A@11V 160 RPM Test on the LS. So the LS Starters indeed should spin the prop faster. Now I can say that this is true...the LS is a faster turning starter on the IO-390 than the NL, and if ultimate low weight is your requirement, you may want to use the LS. But, the NL should be a great starter, and it keeps both of my planes equipped the same. Most people are very happy with them.
Update: After removing my LS starter and bench tesing it, I was unable to get it to fail to crank. It appears that the starter indeed is fine, and my firewall solenoid was the culprit all along. Fortunately, now that I was forced to re-wire where I don't use the additional small terminal, I don't have any issues any longer.
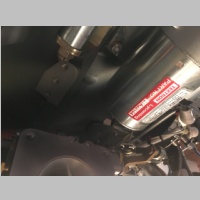
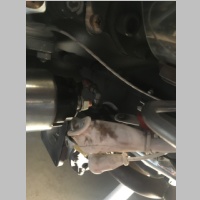
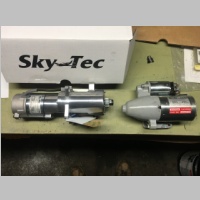
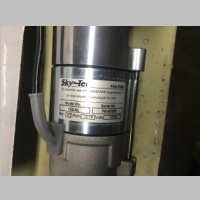
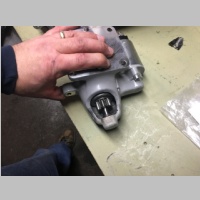
Here are some pics of the starter swap
 |
 |
 |
 |
 |
 |
 |
 |
 |
 |
 |
 |
 |
 |
 |
 |
 |
 |
 |
 |
 |
 |
 |
 |
 |
 |
 |
 |
 |
 |
 |
 |
 |
 |
 |
 |
 |
 |
 |
 |
N14YT Home | N104CD Home