Work while waiting for Firewall Forward
With no firewall forward kit in sight, and being in the middle of winter, it was time to putter away on the warmer days in the garage. This will be a quicker update, just to finally post some of the pictures and things that I got done over the winter.
 |
 |
 |
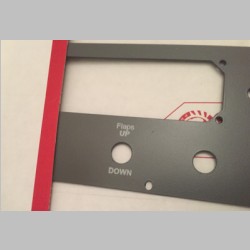 |
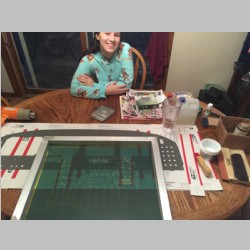
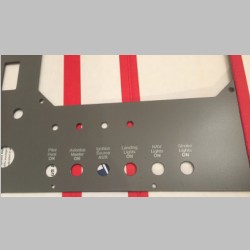
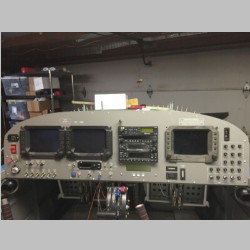
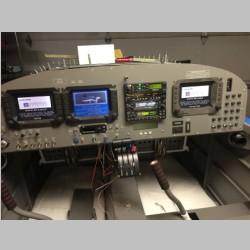
We got the panel silkscreened and it turned out pretty well. We did have to wipe a couple of them off and do them 2 and maybe even 3 times, but it did not take long and we had the whole panel silkscreened. I'm pretty happy with the result. I am not going to clear coat it this time, as I did in the RV-10. The bags are just for me to keep track of some of the switches I bought along the way. |
|||
 |
 |
 |
 |
 |
 |
 |
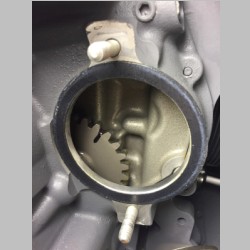 |
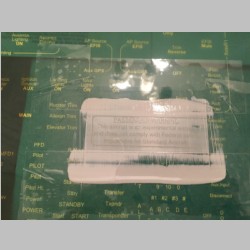
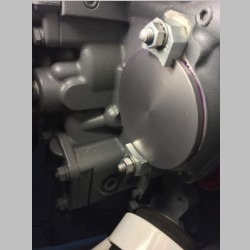
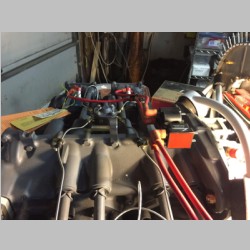
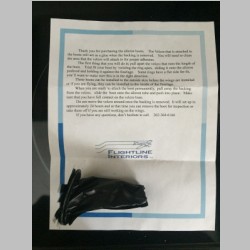
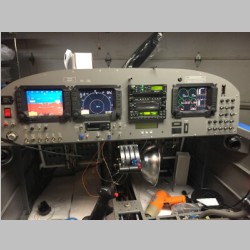
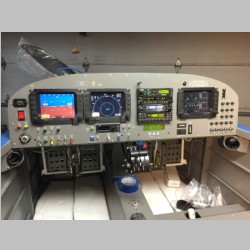
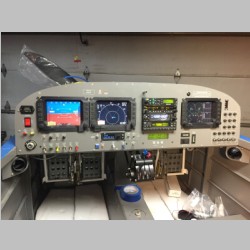
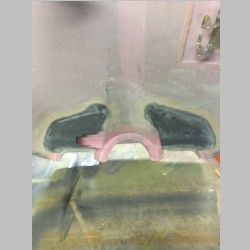
With the panel silkscreened, it was time to throw the instruments all back in and see how it looked. Above are a couple pics of the results. Another project was to finally yank the Right Mag and replace the mag with a cover plate. Lightspeed specifies using a liquid sealant, so I used the same flange sealant mentioned elsewhere on my site. I works real well. I also re-made the mounting bracked for the ignition coil and got the coil mounted. Now that I finally received my FWF kit, I realized that just as in the RV-10, I may have to either move or adjust the position of the coil due to the baffles. Below is a picture of some aileron boots that I got from Flightline interiors. They will seal off the holes in the sides of the fuselage where the aileron pushrods go, to keep out the cold air drafts. |
|||
 |
 |
 |
 |
 |
 |
 |
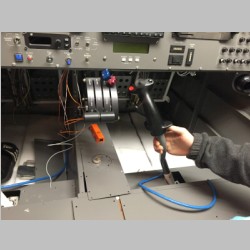 |
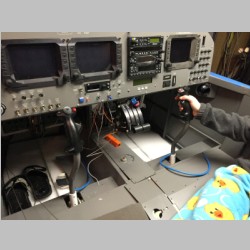
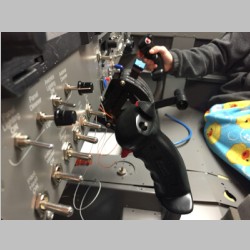
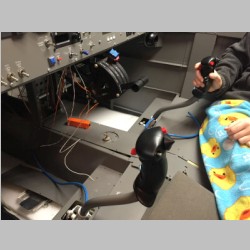
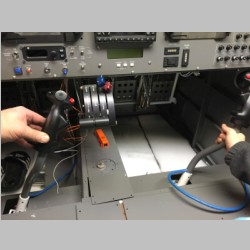
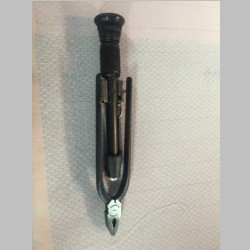
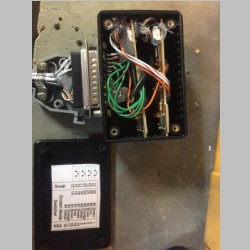
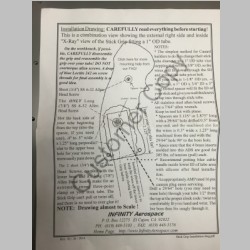
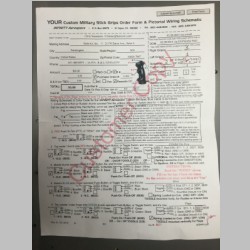
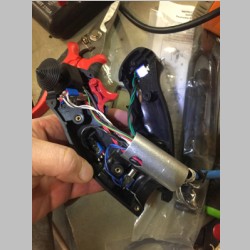
With almost all of the wiring done, it was time to finally install the sticks and get them wired up. The sticks don't hit the panel, nor the sides or throttle quadrant. The quadrant, by the way, fits perfectly and is in an awesome position and does not interfere with my knees at all. I also picked up a better quality safety wire pliers...finally one that works smoothly! I had a circuit that I threw together for the Chelton screens that I made last year, that will change the screen mode with an external pushbutton. The system uses keyboard commands, so these are 2 keyboard circuit boards, set up so you can have 2 buttons for 2 of the screens to change the mode remotely. It will operate exactly as in my RV-10. I used Infinity grips, which I really like. |
|||
 |
 |
 |
 |
 |
 |
 |
 |
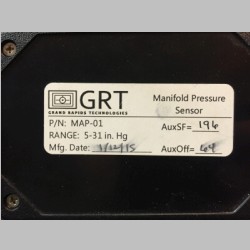
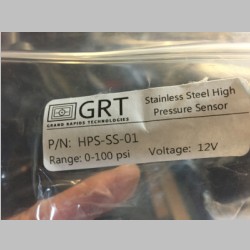
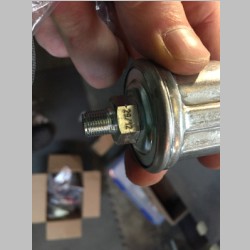
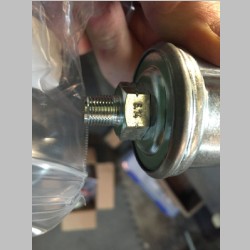
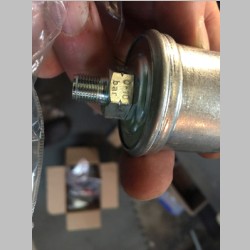
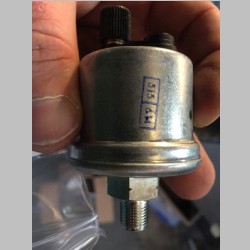
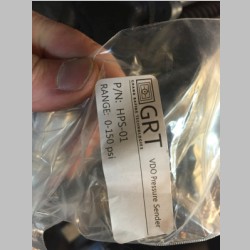
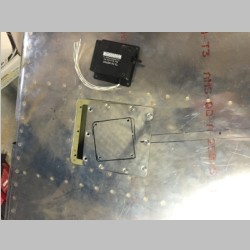
I gathered my Grand Rapids engine monitor sensors, and got myself a better fuel pressure sensor. Just recording it all for part numbers. |
|||
 |
 |
 |
 |
 |
 |
 |
 |
 |
 |
 |
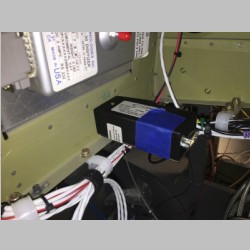 |
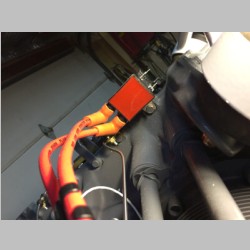
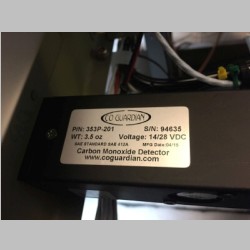
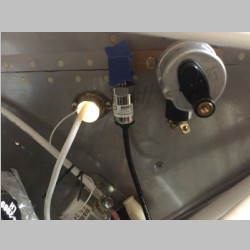
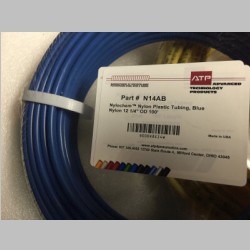
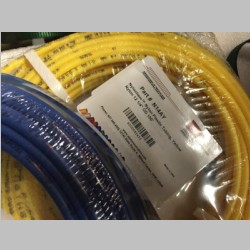
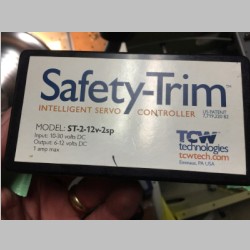
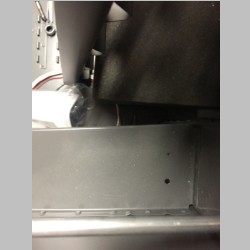
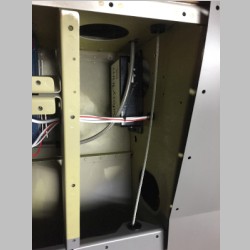
Above my lightspeed ignition box, I finally put in my eyeball passthrough for the RG-400 cables that go to the ignition coils. I'm really liking how it's all mounting up. I got my CO Guardian CO monitor all wired and installed, and purchased the below Nylon tubing for my pitot/static system. Some stuff that holds up better than the softer poly tubing, and has a higher temp rating. Then there's the one thing I would never build a plane without...Safety-Trim. If you've ever seen my RV-10 write-up on Safety Trim, you'll know why. It does a great job with speed reduction, trim reversal, and prevents worry about relays sticking. I have it conveniently mounted below the pilots seat. I took a picture of one of the irritating things about the kit again...the armwrest has holes drilled for headset jacks. I really wish they had left the round hole drilling up to the builder. More on that to come. |
|||
 |
 |
 |
 |
 |
 |
 |
 |
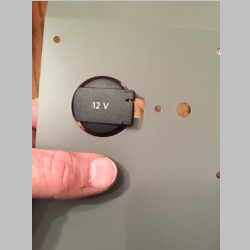
Time to test out things with the panel again. Most everything is all good to go now. Below you will see a photo of one of the dumber things Van's did. They even cut a lighter socket hole between the seats, and what I assume is an audio jack hole for entertainment purposes. This is completely ridiculous. First of all, it took a bit of work to find the proper lighter socket to fit the cutout. The one they sell for it is actually a marine type jack. But if they hadn't cut the hole there, I would have been much happier, as I do not even intend to use a lighter socket in that location. And, I have no use for the entertainment jack either, as my audio panel has bluetooth, and I installed a 2nd audio jack for a 2nd bluetooth input, but that's on the sub-panel. These holes are unnecessary, and the lighter one is ugly. Even if you buy the proper socket for it, you still need to paint the underlying metal, because the green primer in my case will show through around the socket. The socket you see later on this page is NOT the proper one. To find that one go to Amazon and search for "Marine lighter socket" and look for one with the flimsy rubber/plastic cap on it. |
|||
 |
 |
 |
 |
 |
 |
 |
 |
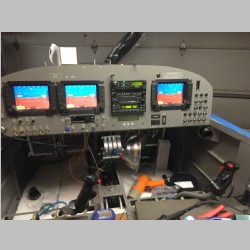
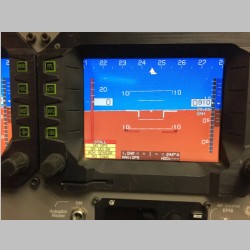
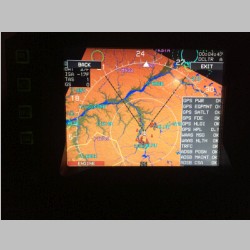
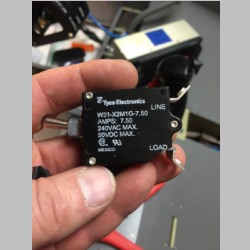
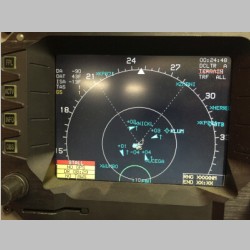
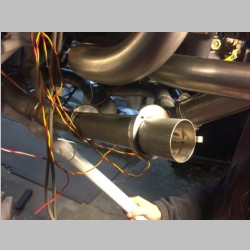
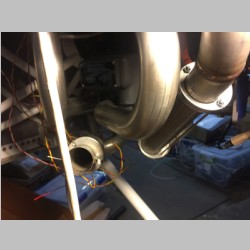
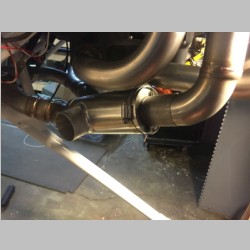
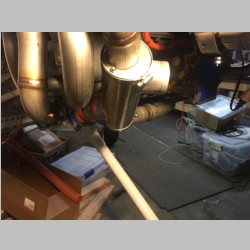
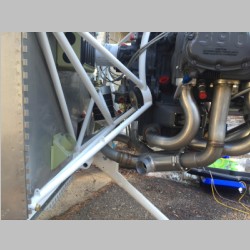
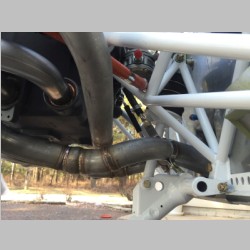
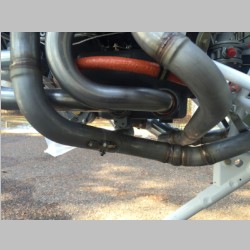
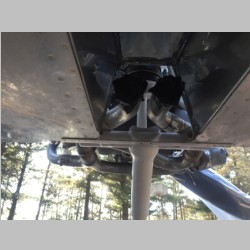
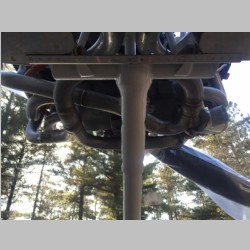
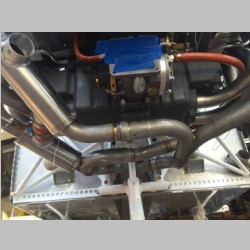
Just some pics of the Exhaust install. That ended up coming along real well. Below I was able to test my GPS and that is working perfectly too. I wrecked my breaker switch when I had to remove a wire, by turning the screwdriver too hard...so time to buy a new one for that. 2 rows below is the traffic test of my ADS-B system on the Chelton. All good! And the panel is all lit up! |
|||
 |
 |
 |
 |
 |
 |
 |
 |
 |
 |
 |
 |
 |
 |
 |
 |
 |
 |
 |
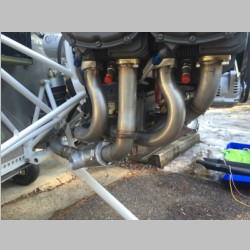 |
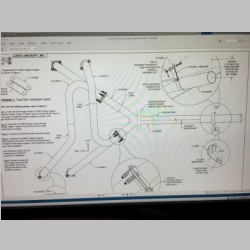
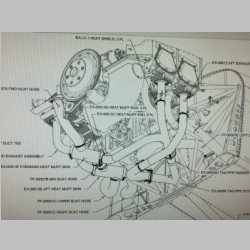
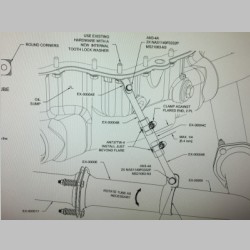
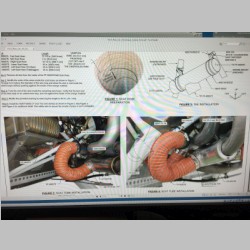
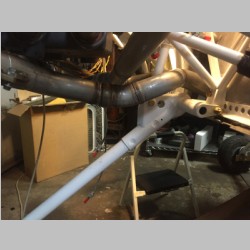
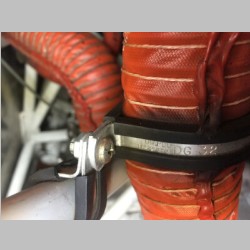
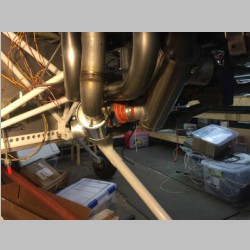
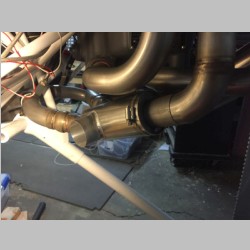
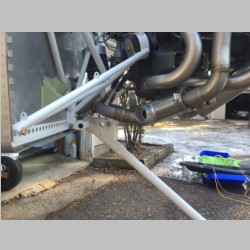
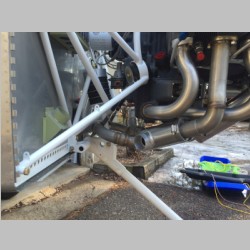
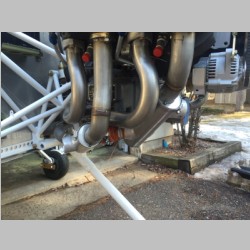
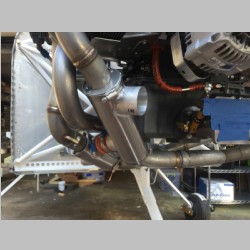
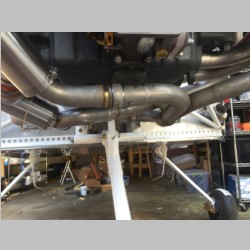
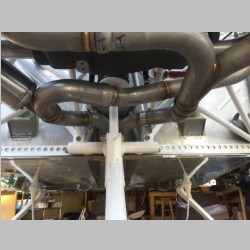
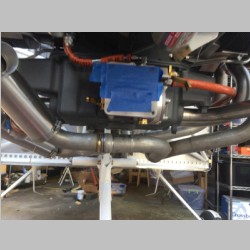
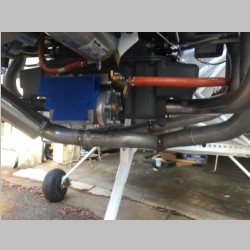
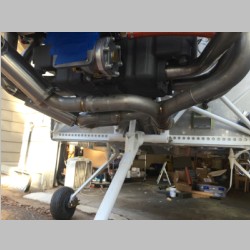
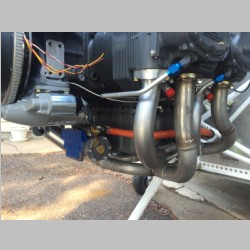
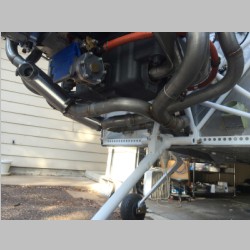
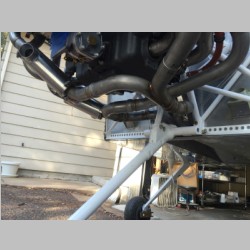
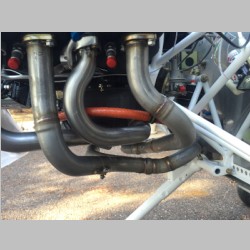
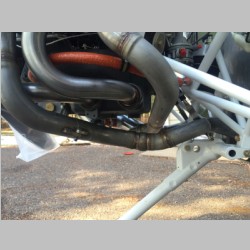
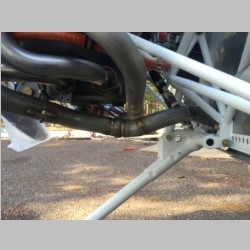
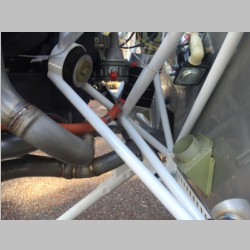
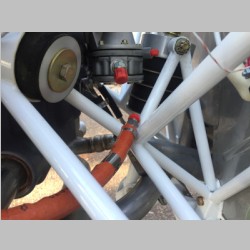
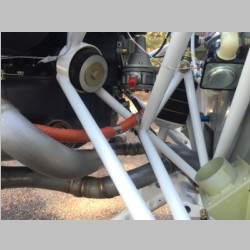
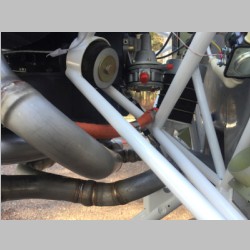
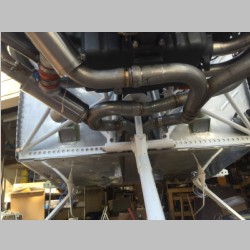
This whole mass of pictures is all a preview of the aftermarket exhaust that I am getting. It took a little bit of work to get everything lined up just right, but it should be a better system than the factory exaust, giving you 2 of the 2-into-1 systems, rather than a 4-into-1 like Van's uses. So this should provide less restriction, and equal more power and performance. It will have the same dual heat muffs and things as the factory system. |
|||
 |
 |
 |
 |
 |
 |
 |
 |
 |
 |
 |
 |
 |
 |
 |
 |
 |
 |
 |
 |
 |
 |
 |
 |
 |
 |
 |
 |
 |
 |
 |
 |
 |
 |
 |
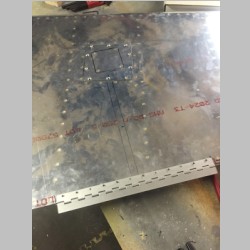 |
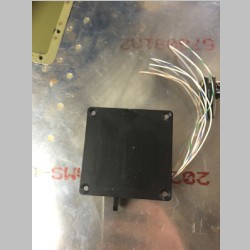
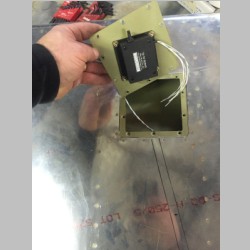
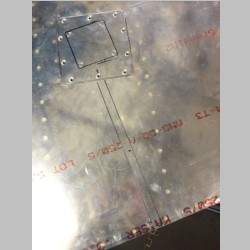
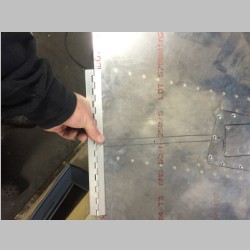
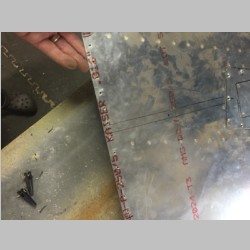
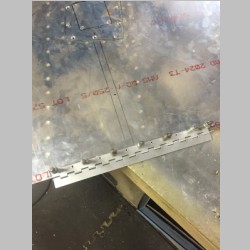
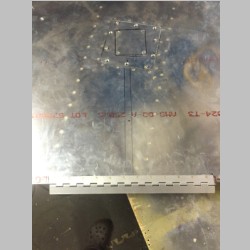
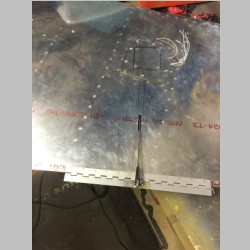
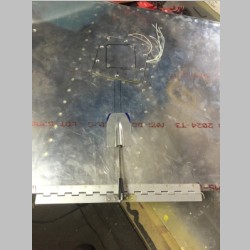
I also finally took the plunge into my rudder, and installed the rudder trim and fairing. I decided that I just love the rudder trim on the RV-10, so I couldn't live without it, and I had already installed the panel switch anyway. It uses 11" of hinge, and I did have to buy a piece of threaded rod on Amazon, but that's about it other than the trim servo and access panel kit from Van's. It operates perfectly and should work real well. It took less than 2 hours to get it all mounted up and on, not counting the access panel. |
|||
 |
 |
 |
 |
 |
 |
 |
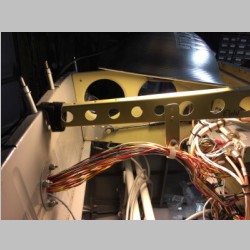 |
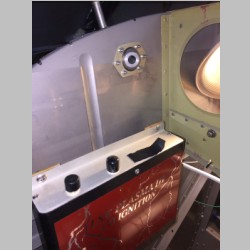
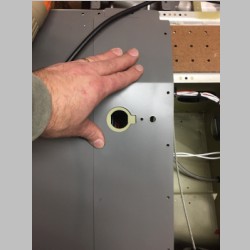
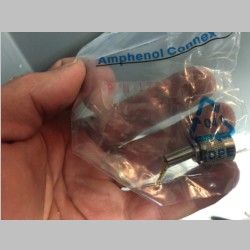
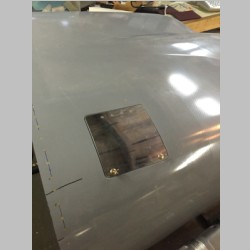
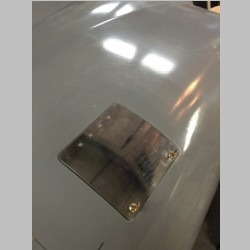
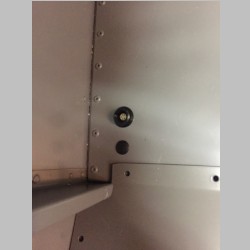
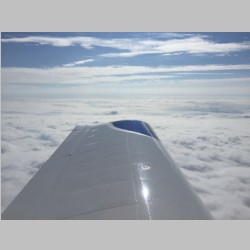
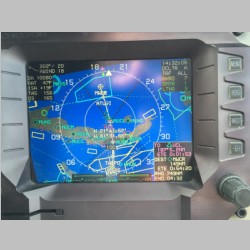
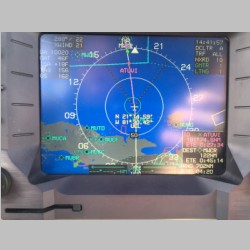
I also finished my oil door in the cowl, and glassed in the ramps, painted the inside of the cowl a little, and sealed it up. Had to add a wire hanger for the wires going thru the firewall, so they could go out the center where I wanted them. I'll have more on the Throttle/Prop/Mixture cables later, but, I did add another eyeball passthrough for the prop cable that removes a lot of the "S" curve that you have, that will cause a stiffer cable movement, if you do it the way Van's routes it. And I finally received my plastic plugs to plug the 2nd headset hole next to the seats...yeah, the ones that I wish Van's hadn't ever drilled in the first place, since they're JUST ROUND HOLES that any of us could have drilled. I'm using a Bose LEMO connector there instead. With all that done, it was time to head out on a vacation...so we piled in the RV-10 and flew it to the Cayman Islands. Below are a couple of photos of flying over Cuba...coincidentally it was durign the time President Obama was there....and I was thrilled that there wasn't a big giant TFR in the way. |
|||
 |
 |
 |
 |