Moving to the airport!
5/21/2016
I'm going to jump out of painting mode for a
minute and change to moving to the airport. The painting
write-up will continue to be updated as the painting process
continues.
 |
 |
 |
 |
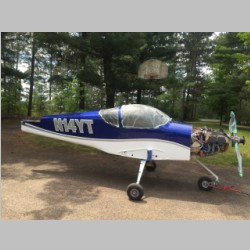
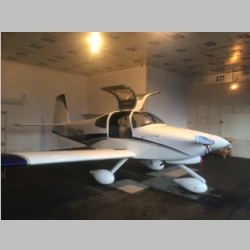
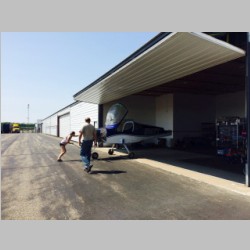
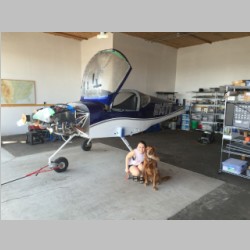
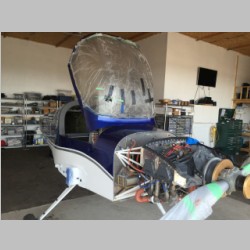
The first thing I needed to do was get the fuselage outside and take some real pictures. Seeing it outside I'm pretty happy with how it is turning out. Then we had to take a trip out to the airport and move the RV10 out of the nicer/newer hangar into it's original hangar home. Better to keep the new project where all the tools and parts are. Later this fall I'll have to do some hangar work to integrate the 2 hangar spaces. |
|||
 |
 |
 |
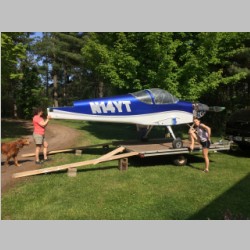 |
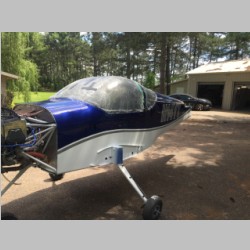
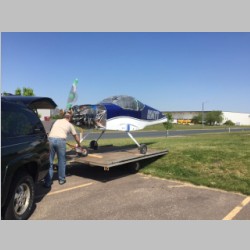
I used the same extra wide (I think it's around 100 inches) snowmobile trailer to move the RV14 as I did the RV10, but this time I did it even smarter and it went much quicker. To avoid a tail strike, last time I used a 5 ramp arrangement, with a long nose wheel ramp and 20' of 4 ramps for the mains, to progressively get it higher. I didn't want anything to allow the tail to hit the ground. The trailer has a winch on the front just like a boat trailer. I also still had 2 ramps left over from moving the RV-10 over 10 years ago, and I threw together 1 short ramp with one of my old ramp ends that you bolt on a board to turn it into a ramp. This time I had a better plan and that is to simply lower the trailer. I pulled it to the yard on slightly lower ground. Also, although the trailer tilts, I didn't want to use the tilt feature. It would be too quick and unpredictable when tilting it back level, and, it would tilt so steeply that the tail could strike on the ground. But what you CAN do to tilt the trailer is to think outside the box and lift the truck. I backed the truck up onto rear-wheel blocks to lift the back end, which tipped the aft end of the trailer down. Now the ramp height wasn't as high nor as steep. And with the short nose wheel ramp the mains started lifting before the nose, which also helps prevent the tail strike. It only took about 2 minutes with 1 helper to winch the plane up the ramp. |
|||
 |
 |
 |
 |
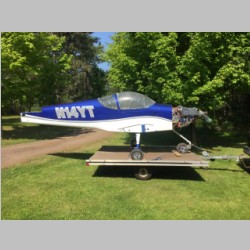
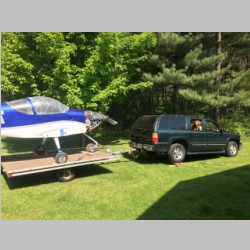
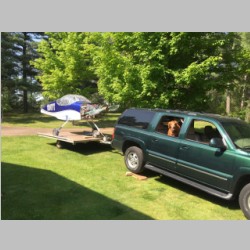
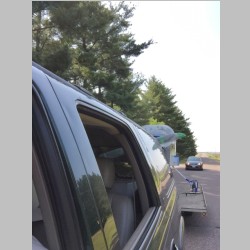
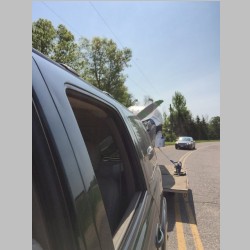
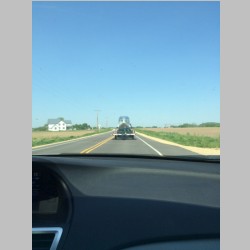
With the plane on the trailer it was time to secure it. I did that the same way also. I blocked the wheels fore and aft with 2x4 chunks, and this time I put a second block under the trailer deck and screwed the 2x4's right thru the deck, together. Sadly the trailer will probably not last long enough, without some repairs to move a 3rd plane...the deck is rotting and cracking and the rims are rusty, but it was holding up enough to do this move. Then I drilled 2 holes thru the deck, one in front and one behind the tire, and slipped a cam strap thru and under the deck and over the tire. After cranking it down tight, those mains weren't going anywhere. A pair of straps pulling aft on the nosewheel and now it had something pulling it in 2 separate directions and it wasn't going to move. Time to hit the road! The first 3 miles of road was fairly bumpy, scheduled to be replaced this summer. I kept it around 35 for that part, but bumped it up to 40-45mph once we got on brand new smooth pavement. |
|||
 |
 |
 |
 |
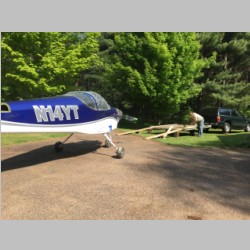
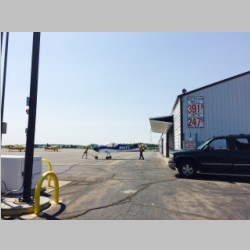
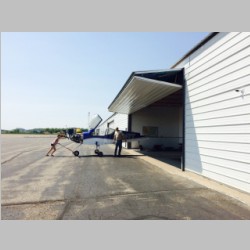
At the airport the night before I spied the perfect way to unload without all the hassle. There was a small grassy hill in the parking lot. I could back the trailer right up into the hill and almost not need any ramp at all. We ended up not needing the big ramps, but used the short ramp on one side that had a 1' drop, and a scrap of wood and a couple blocks under the nose area where the drop was 6" or so. 1 minute later we had the plane off and hand towed it over to the hangar. The "little" RV14 looks tiny in the big hangar, with no wings on it. After this it was time to head home for some more painting. Very soon all of the parts will be bolted together and the final wiring connections will be made. At that point it'll be ready for some fuel level calibration and engine test runs. |
|||
 |
 |
 |
 |
 |
 |
 |
|
Previous | Site Home | Next