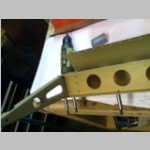
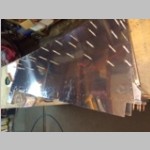
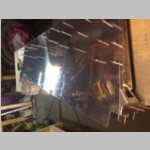
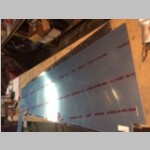
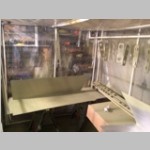
Flaps / Ailerons / Vertical Stab / Rudder / Horizontal Stab / Elevators
3/1/2014First, from here on I think I'll drop the section numbers (and maybe remove the ones from prior updates as well). When the empennage kit arrived and I dived into the plans, I found that apparently they messed up when they shipped the wings first, and got the plans section numberings all messed up. So that leaves us with the wing kit having 2 section numbers per part. So to not confuse anyone further, I'll just leave the section numbers out.
This has been a pretty miserable winter for making progress, with over 50 days of below zero temperatures...many of them being more than -10 or -15F, and some down in the -30's when I go to work in the morning. I won't work in the garage at those temps. I can easily make it comfortable, but doing so will just add to the cost of the build, in kerosene to heat the garage. So I've been taking lots of days (including today as I write this) off from the garage in favor of saving fuel.
That said, I guess I'm pretty happy with the speed at which I've been moving this winter, given those conditions. As a whole, I'd say I'm moving slow on the kit. Much like on my RV-10 build, the first 1/2 of the build (roughly 900 hours) took me 1.5 years. The second 1/2 of the build (on the RV-10 it's about when the windshield goes in, so you have a completed fuselage/wings/tail and have basically no more aluminum to do) took me .5 years. So yes, I realize that when building a plane, it's hard to be motivated when you are starting out. Everything is ahead of you, and the project seems huge. But as you go, and you start to see larger and larger pieces coming together, and especially when you have a cockpit to sit in, I think that's a big morale booster and it gets you out there working more consistently. With Van's for some reason taking a lot of time to get this kit out, it's working out OK for me. I may have this emp kit done just in time for the fuselage to show up. Regarding that delay, I'm sure hoping it's not because they're trying to stuff every last decision into the plans. What I mean by that is, and I'm already fearing this, is that they seem to be trying to think of EVERYTHING, and to almost force you to go with their accessories in avionics. During the wing build, there is an AHRS tray in the wing. Now, I built it anyway, but, I highly doubt I'll be using it for my AHRS. I'm using a 3 screen Chelton system just like in my RV-10. They also look like they're including every wire harness, even down to things like maybe the ELT antenna cable. Now that is just TOO FAR for my likings and it means i'm going to have to spend a lot of time figuring out what NOT to get with the kit. Because, I'm using the ACK E-04, just like my RV-10. I'm planning to do the wiring much the same way, and include most of the same avionics. They really better offer an un-cut panel option or I'll be REALLY disappointed. Don't get me wrong...it's a great kit, and they're doing a lot to make it easy on the builder....I just don't like my avionics and accessories being dictated to me by the design of the plane.
The build itself is very much like the RV-10. The kit has been very complete, and it amazes me time after time to see how well thought out the design is, and how well it all fits together with precision. As far as kits go, if you're looking to build one, Van's seems to be the only one with a kit and plans that are this great.
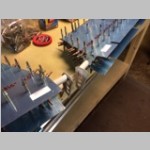
I'll include more commentary along with the images below.
 |
 |
 |
 |
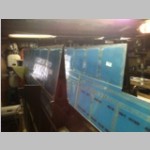
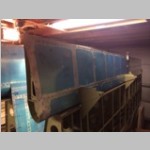
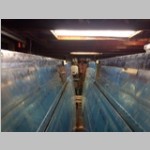
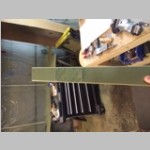
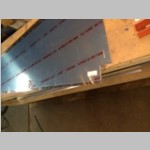
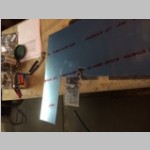
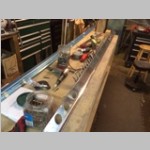
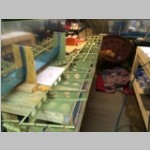
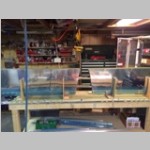
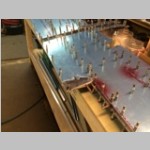
| So after testing the tanks and
finding no leaks, I got them mounted to the wings along
with the leading edges, and now they sit nicely and safely
in the cradle. I still haven't done the bottom skins
because I haven't done any of the wiring or installed my
pitot tube mount yet. Once I do that, I can finish
the bottom skins. I also kind of wanted to wait until near
the end, so that I've bought my autopilot and installed
the servo. Again, I want to use the same TruTrak
VSGV which is now renamed, in my RV-14 as I have in the
RV-10, and they tell me the bracketing will fit fine for
my install. But I'll wait until just before paint to
finish everything, except I'd like to get the pitot tube
mounted before that. |
|||
 |
 |
 |
 |
 |
 |
 |
 |
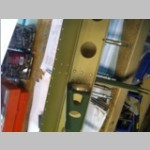
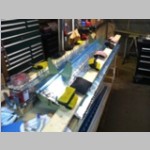
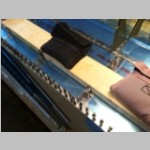
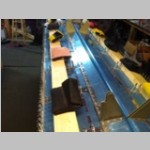
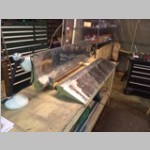
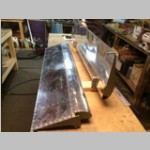
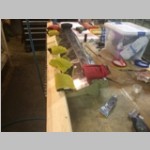
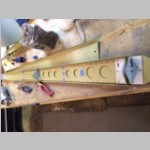
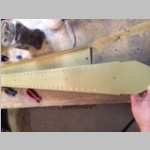
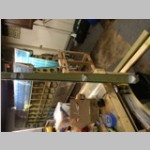
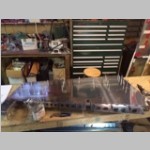
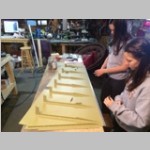
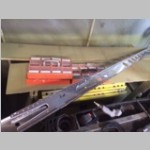
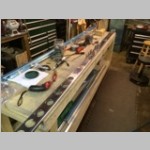
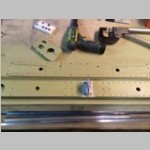
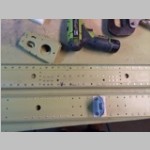
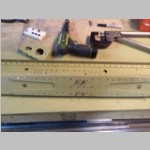
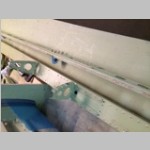
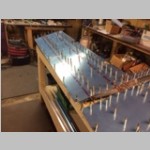
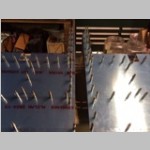
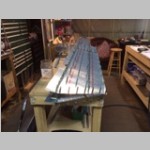
| The flaps went together real quickly with no issues, other than I think I have a slight twist in my Left flap. When you install them onto the wings, you can look at the rivet line as it lines up against the wing skins, and tell if you have a twist or not. I am not sure if I'll end up re-building a flap later or not, but I'm going to paint it and fly it this way for a while and see how it goes. Make sure when you rivet the bottom skins on that you have the right angles to the flap brackets and that the flap is held down on a flat surface and everything is lined up well. You can see how I had them held down on the bench with lead shot pouches and a 2x4, but I didn't do one final check of the brackets to make sure I had everything perfect before I did the trailing edge. Honestly though, I think the twist comes at the time you put the bottom skin on, so before doing that, get everything in the proper alignment. When riveting the trailing edge, you can mess it up and have it come out bent (mine didn't), but that isn't the same as the twist I'm talking about. | |||
 |
 |
 |
 |
 |
 |
 |
 |
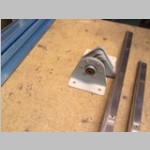
| I didn't take too many pictures
while assembling the ailerons, but they went real
smoothly. There was a bit of confusion to the plans
when drilling some of the holes into the steel
counterbalance tube. I think it was poorly copied
and edited from the RV-10 and they have you do things
twice if you follow the plans. Think through that
area a bit first, because it works out better if you skip
the first pass and just do the 2nd. Maybe
they've even revised it by now, but either way, the
ailerons are pretty easy to build. |
|||
 |
 |
 |
 |
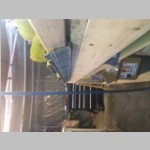
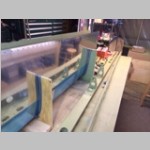
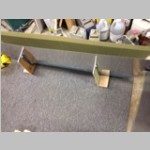
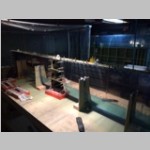
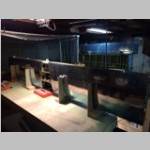
| With the ailerons built and
stuck on the wings, it is now time to line everything up
to install the wingtips. With the twist in the flap
that I have, this means I'll want to do a little bit of
adjusting to the aileron and flap alignment before I start
mounting the tips. See, the flaps are your base for
aligning everything. You can then line up the
ailerons to the flaps. Then you line up the tips to
the ailerons. If you have everything straight and
perfect, you can avoid a heavy wing. With a twist in
my flap, I don't want to build the alieron and tip to
match it perfectly, or I'll just make the problem
worse. By making sure the nose to spar gap of the
flap is straight and consistent all the way along the
flap, I can use that as the basis for "zero" (I'm guessing
that's the same -3 degrees as the RV-10) point for
aligning everything. You want the tips and ailerons
aligned to that -3 degree reflex flap setting so that you
have minimal drag in cruise configuration. |
|||
 |
 |
 |
 |
 |
 |
 |
 |
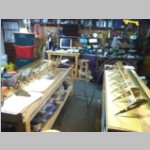
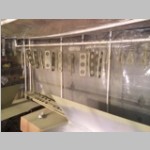
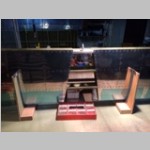
| With all of those wing steps
done, my wing parts pile was getting pretty small.
Since I'm waiting a little longer on the wingtips, it was
time to dive in to the empennage kit and start getting
those parts put together. The faster I move through
these little things, the cleaner the garage can
stay. I can't wait to get the tailcone done.
Once that's done, it's fuselage time and this thing will
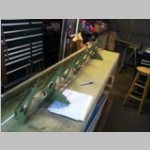
start looking like an airplane. The Vertical stabilzer is very much like the RV-10 in its construction. It's a little shorter, so there is a missing center nose rib which on the RV-10 was a "gotcha" where if you didn't taper the rib well, you'd have an outward dent in the skins. On the RV-14 plans you can see that Van's realized this and there are numerous references to making sure the nose ribs are going to go together properly. The vertical stabilzer builds faster than most any part on the plane...zero to satisfaction in no time. |
|||
 |
 |
 |
 |
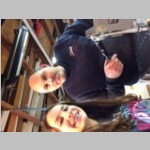
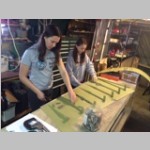
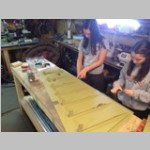
| Although it's been a pretty
busy winter for everyone in the family, the kids got out
and helped a few times over the past couple months.
Things sure go faster when they're around, especially on
deburring days. They hate that step just as much as
me, but it goes so much faster with 3 or 4 people doing
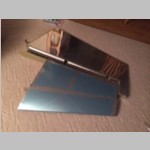
it. Below in the 4th photo and some 2 rows down, you
can see the RV-10 rudder skin laid on top of the RV-14
rudder skin. I'll be rebuilding my rudder sometime
this year, and hope to paint it at the same time I paint
the RV-14. I plan to use the same exact paint and
color choices to simplify any repairs down the road to
either plane. It'll give me a good opportunity to
repair 8 years of chips on my wheel fairings too. |
|||
 |
 |
 |
 |
 |
 |
 |
 |
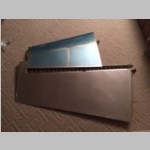
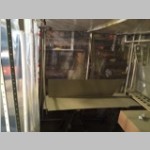
| The keen eye will notice that
I've added an access panel in my RV-14 rudder. This
is because I decided that I will likely add the same
electric rudder trim as I have in the RV-10. It
works exceptionally well and is easy to do, so I added
that panel right now so it can be painted up with less
rework to do later. I don't know if I'll actually
add the servo before I fly, but at least the largest part
of the job is done. Below are a couple of photos of the rudder sitting next to the vertical stab. |
|||
 |
 |
 |
 |
 |
 |
 |
 |
 |
 |
 |
 |
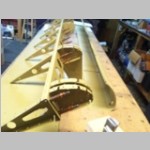
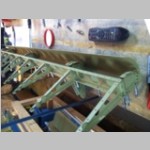
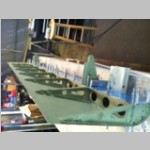
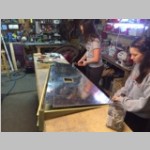
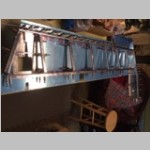
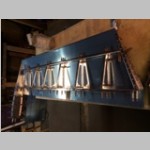
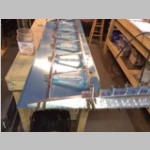
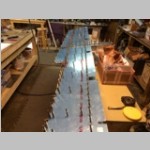
| The horizontal Stab is a big
piece to work on, but it's not ultra complicated. It
definitely is one that leaves you a feeling of
accomplishment however, due to it's size. After
completing this, the pile of parts left in queue is
getting much smaller, with only the elevators and tailcone
and a few other things. I did have a couple of
slowdowns due to the priming that was required before
certain parts could be assembled, so rather than follow in
complete order of plans, I tried to get everything to the
priming stage at the same time, and get it all primed
before assembly. |
|||
 |
 |
 |
 |
 |
 |
 |
 |
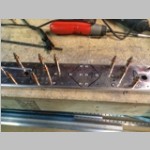
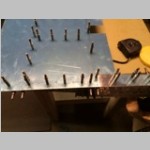
| You have to be careful when it
comes time to throw the whole rib/spar assembly into the
skins. There are some steps where you leave some of
the skin and rib holes un-dimpled. This is because later
the fiberglass intersection fairing will fit over those
areas and you'll be installing nutplates. Even after being
aware of it and trying to remember to be careful and line
up the proper bottom side of the spars, with the proper
side of the dimpled ribs and stiffners, and then the
skins, I still found for a minute that I had the stiffener
assembly in upside down, so had to pull it out and flip it
and re-insert. Just talking about it makes it sound
like a big deal, but in reality it was a 3 minute
job. Just be aware that when you get to that step,
you really have to know which side of each spar is top,
and insert the rib assembly in top-side-up, and then get
the skins on in that orientation too. The assembly
itself goes very easily and I did the entire horizontal
stabilizer alone, with no real assistance from the
family. It's not an overwhelming step, despite the
size. |
|||
 |
 |
 |
 |
 |
 |
 |
 |
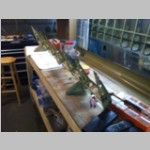
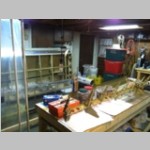
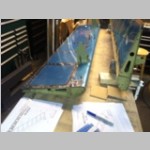
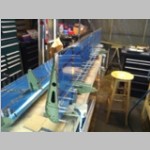
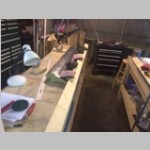
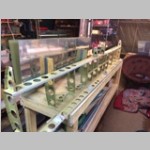
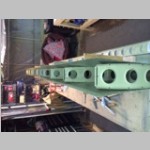
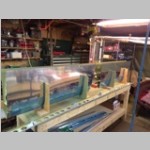
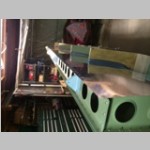
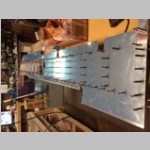
| Here are just some various
assembly pictures, not that they're pointing out anything
in particular. It's just nice to see it all coming
together. |
|||
 |
 |
 |
 |
 |
 |
 |
 |
| Believe it or not, the
Elevators to me are a bigger pain in the butt than the
horizontal stab. There is a lot to deburr, and there
are lots of small pieces, so there is quite a bit of time
to getting them to the stage to rivet anything. As I
write this, I haven't finished anything past this part of
the elevators because it's been either too busy or too
cold. Today, 3/2/14, it's down in the -6 to -15F
range again, so it isn't going to be a building day,
although the sun is out and it's beautiful looking
outside. That's why I'm spending time getting these
photos out. If I remember right, I had one whole
work day into just cutting, deburring, and preparing the
parts, and then had another day into assembling the
elevators to the stage of these photos. |
|||
 |
 |
 |
 |
| One thing that is very
different in the RV-14 from the RV-10 elevators is the
trim design. The RV-10 used 2 trim tabs and a
special mechanism to actuate them remotely with push-pull
cables and a cam to get the deflection right. It was
both complex and simple at the same time, but also meant
you had to build two trim tabs. The RV-14 changes
things drastically in that you only have one trim tab, and
the trim servo is located within the elevator
itself. So, there will be no cables other than a
wiring harness that run into the elevator. I think
it's a great little design. They did a bunch of
custom special parts to mate up inside the elevator to do
this. My next tasks are to prime and then start
riveting things together, and I think it'll all go
together pretty nicely. The new elevator trailing
edge is a completely new design too, but I find it's easy
to build and should work out fine. |
|||
 |
 |
 |
 |
 |
|||